Create a Checkpoint Using the CGE UI
Procedure for creating checkpoints on a database via the CGE Checkpoint interface
Note: Checkpoints can only be created on running databases. If there are any queries or updates executing, it important to ensure that they finish executing before a checkpoint is created, otherwise the state of the database in the checkpoint may not contain the desired updates to it.
- Optional: Log on to the CGE UI by pointing a browser at
http://machine-login1:3756/login, entering credentials and then selecting the Login button.This step is optional, depending on how the interface has been configured
- Access the Checkpoint Interface using one of the following mechanisms:
- Point the browser at
http://machine:3756/dataset/checkpoint, where machine is the machine running CGE’s web server. - Select Checkpoint from the Data Access drop down.
This brings up the Checkpoint Interface, as shown below:Figure: Creating a Checkpoint 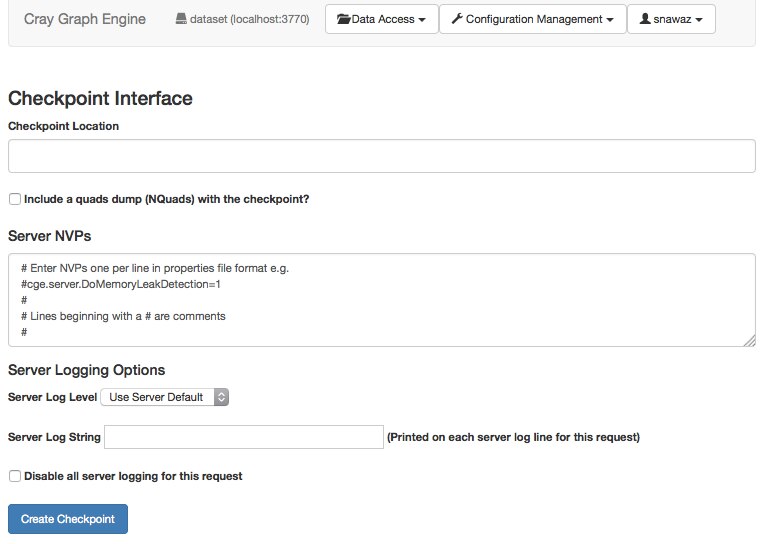
- Point the browser at